My Digital Studio is so fun to work with. These fabulous new Designer Series Papers are only available in this program. Isn't this so gorgeous? To see all the different designs go to my website
http://www.janetelam.stampinup.net/ and click on "shop now". This will take you to everything available for online purchases. If you click on the "digital" stamping it will take you to the available downloads. Look under the "paper" and find Summer Splendor... they are ALL so pretty .

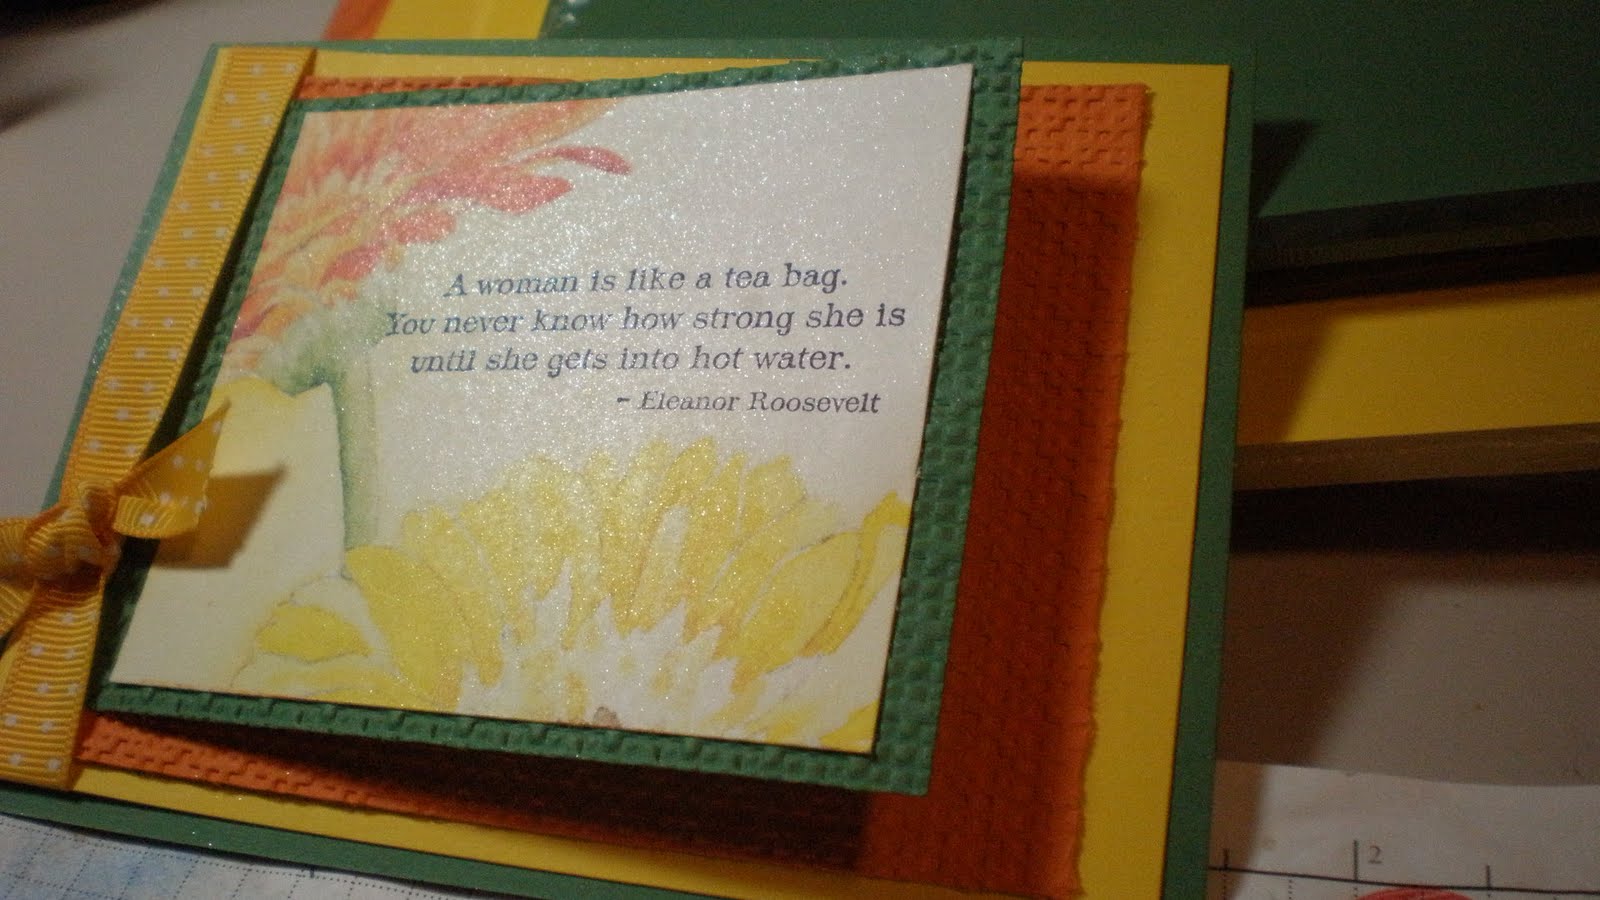
All I did was Print the area of the DSP I wanted onto my Whisper White cardstock and trimmed to the size I wanted for my card. I also took some Garden Green cardstock and Pumpkin Pie cardstock and ran them through my Big Shot using the new lattice square embossing folder found in the new Summer Mini Catalog. I love the look of this impression and it makes the paper feel so soft and pliable. I attached my image to the Garden Green piece and folded the outside edge around the Pumpkin Pie embossed piece and attached them to the YoYo Yellow cardstock, then onto my Garden Green Card Base, after attaching some Crushed Curry Polka Dot Grosgrain Ribbon on the edge. Then if you haven't tried the new Smooch Spritzers, you absolutely have to have them. The second photo shows where I sprayed some Vanilla Shimmer on the entire card. See how pretty and sparkly it is?
Well, it's time to get ready for work and I'm excited about later this afternoon because I'm going to watch my Grandson, Jordan, play for the Idaho State Baseball Championship!! Their team, Rocky Mountain High School, is doing so awesome, especially since the school is only in it's 2nd year of existence.
Have a good Friday!!
Janet Elam
 I was reading one of my magazines tonight and ran across the cutest idea for painting. Of course this is done on a dresser, but I can imagine this on a small accent wall...... this is such a fun design and who would have ever thought. The dresser was painted normally with a solid color, then they inked up a "really clean" raw ear of corn and rolled it in ink and then onto the dresser drawers. I really liked the effect this gave. I keep looking at my stamp room walls and wondering if there
 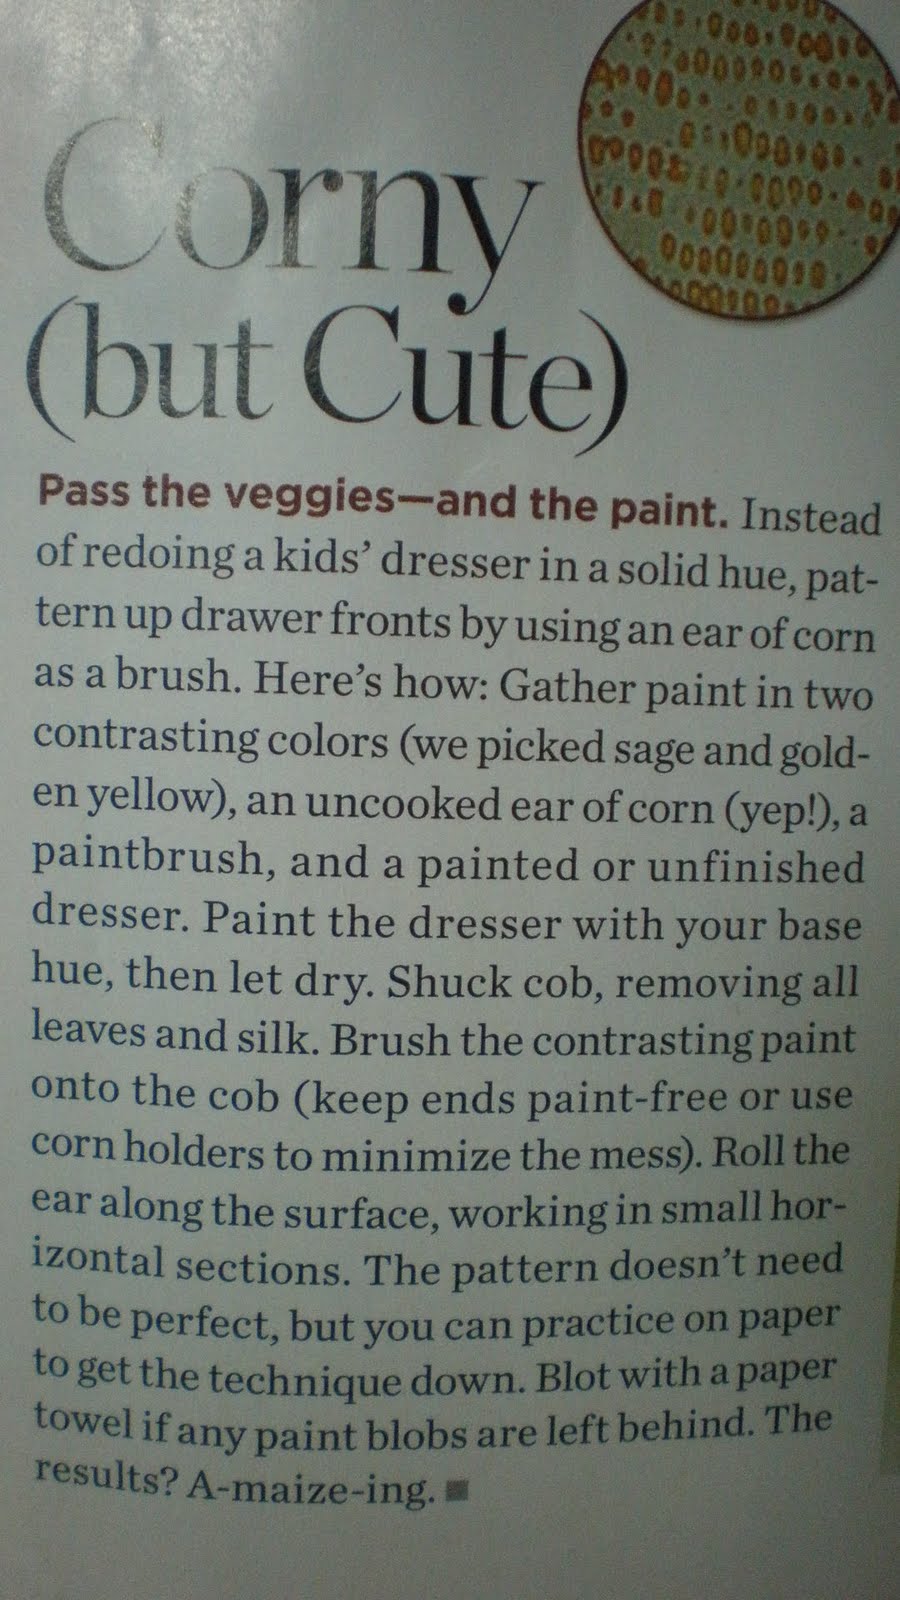 isn't some small place I can do t
 his then accent it with one of our Decor Element items.... How cute would that be?????